Intro
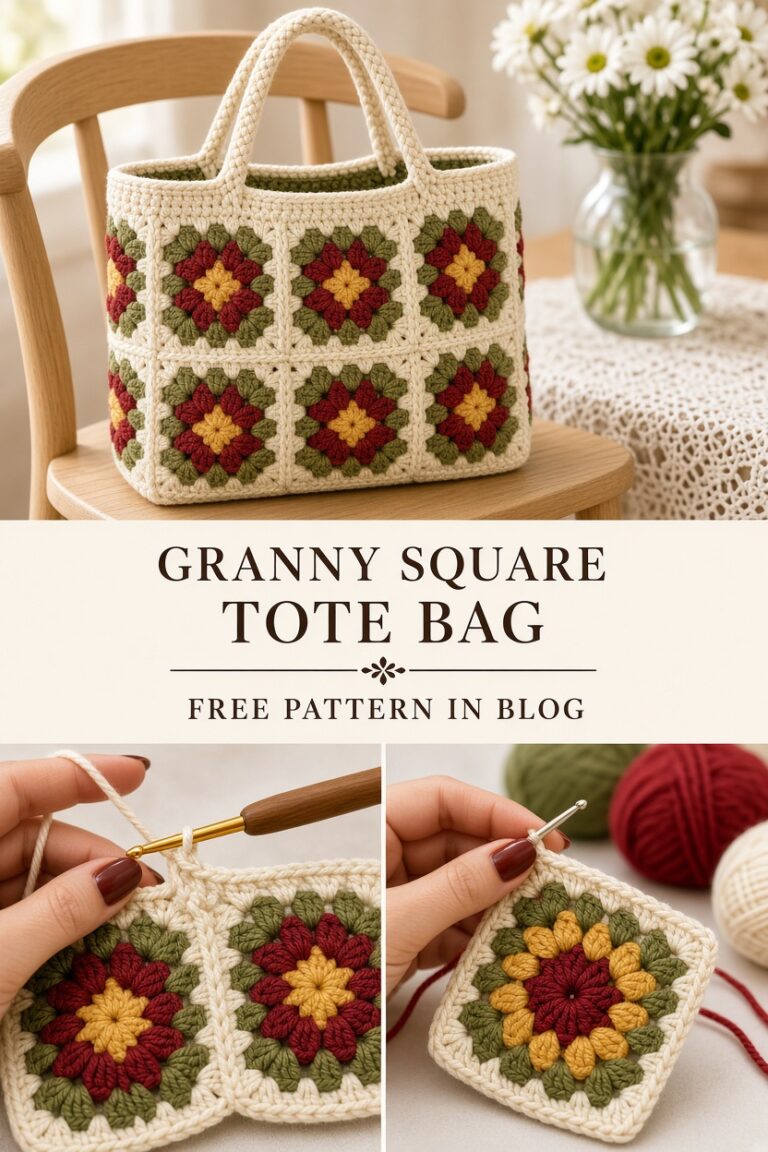
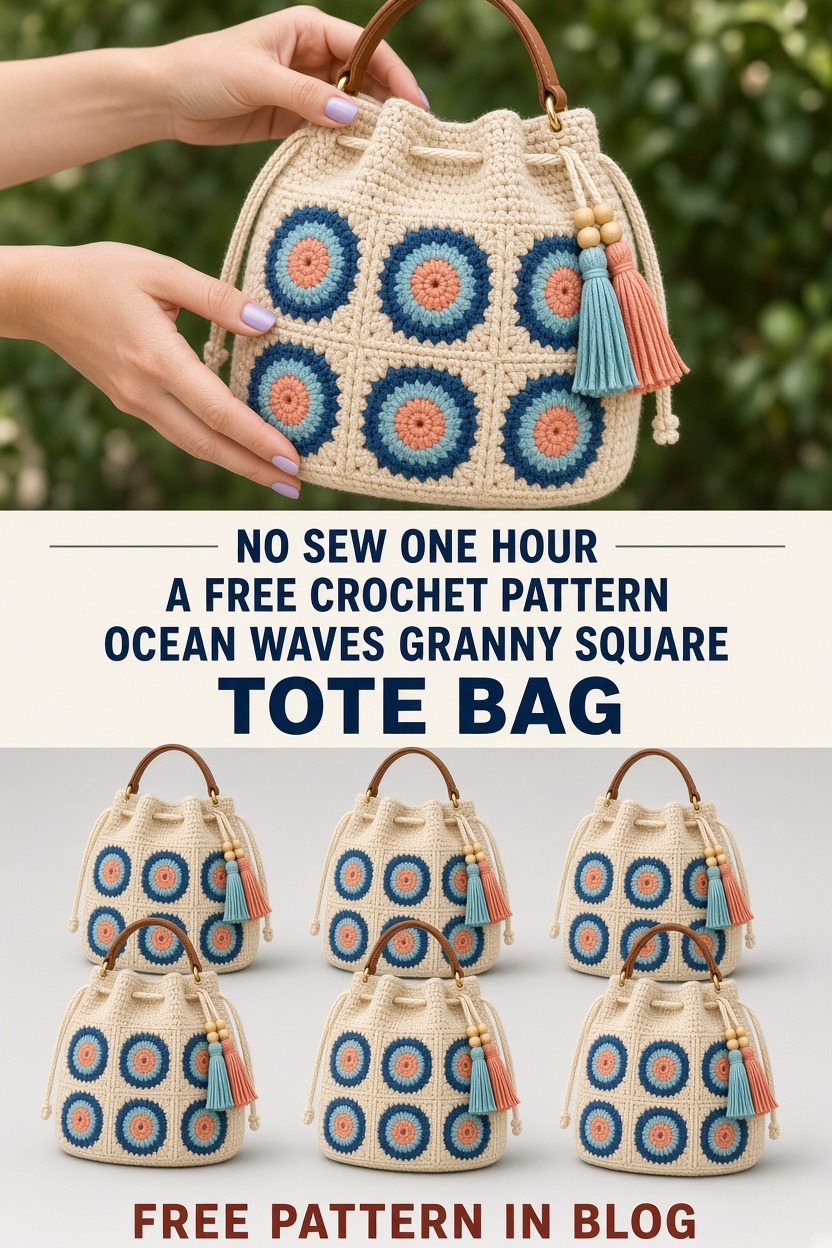
There is something inherently calming about the rhythmic motion of a crochet hook clicking against bamboo, especially when the colors in your lap mirror the shifting tides of the ocean. Living near the coast, I find myself constantly inspired by the way light dances across the water, transitioning from deep indigo to pale seafoam. This Ocean Waves Granny Square Tote Bag free crochet pattern was born on a particularly breezy afternoon when I wanted to capture that movement in a functional, everyday accessory. I spent days swatching, trying to balance the structural integrity of a bag with the airy feel of a classic motif.
My first attempts were a bit too stiff, lacking the drape I envisioned for a beach-day companion. I needed the right tension to ensure the bag could hold a library book or a light sweater without sagging excessively. After several redesigns, I settled on a classic square motif updated with a modern color-blocking technique. The result is a bag that feels artisanal yet approachable, perfect for those who want to carry a little bit of the sea with them wherever they go. Whether you are heading to a farmers market or a seaside picnic, this project is designed to be your most reliable companion.
This pattern is entirely free, crafted for those who love to get lost in the meditative process of making squares. By using a medium weight cotton yarn, you achieve a finish that is both durable and soft to the touch. This tote is perfect for beginners looking to level up their assembly skills or experienced makers wanting a quick, satisfying weekend project. It is truly designed for the modern maker who values both style and utility.
About This Pattern
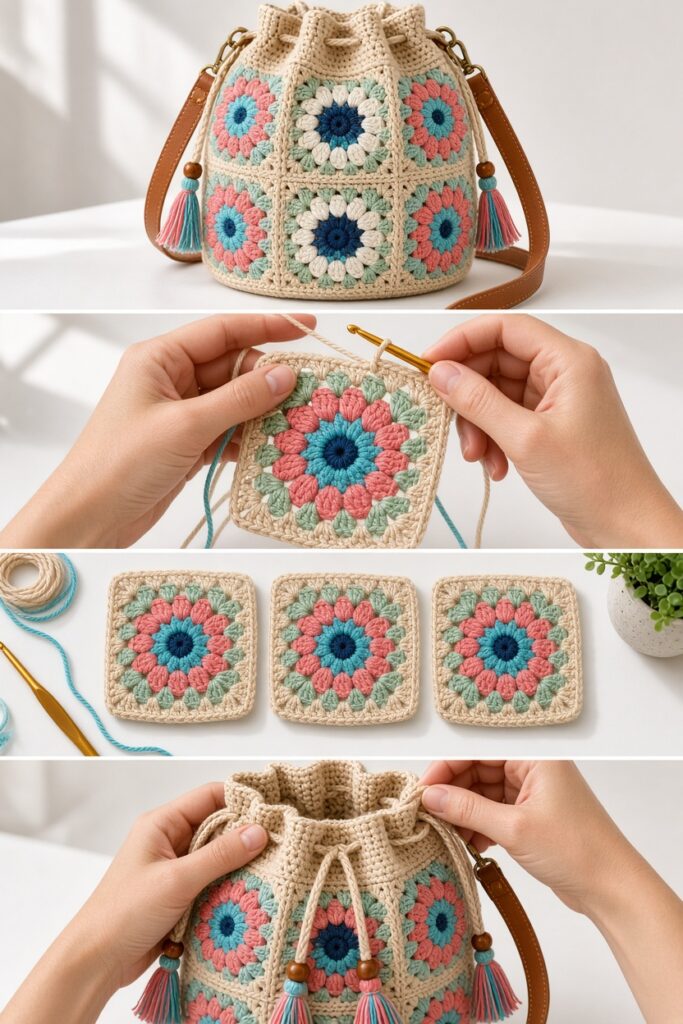
This tote bag is constructed by creating sixteen individual crochet squares which are then joined together in a four-by-four grid. This grid is folded to form a rectangular body, which is then seamed along the sides and bottom. We then work a circular base separately, which is attached to the bottom rim to give the bag its depth and stability. Finally, an upper yoke is worked directly onto the top of the body to create a secure opening with built-in eyelets for a drawstring closure. This modular approach allows you to finish one square at a time, making it an excellent project for on-the-go crafting.
Quick Facts
- Finished size: 12 inches (30.5 cm) wide by 14 inches (35.5 cm) tall
- Strap drop: 10 inches (25.5 cm)
- Skill level: Easy
- Time to complete: 10–12 hours
- Techniques used: Magic Ring, slip stitch join, single crochet seam, working in the round
- Best for: Everyday use, beach gear, or grocery shopping
The design twist here lies in the color progression within each square. By varying the sequence of your four colors in each motif, you can create a unique, ombre-like effect that mimics the waves. You can customize this bag by simply swapping the color order in each square, making every bag a one-of-a-kind creation.
Materials and Tools You’ll Need
Yarn
You will need a worsted weight (Category 4) 100% cotton yarn. Cotton is the ideal choice here because it lacks the elasticity of wool, which means your bag will hold its shape much better when filled with heavy items. You will need approximately 150 yards (137 meters) of each of four colors: Deep Navy, Azure Blue, Teal, and Cream. Recommended yarns include Lily Sugar’n Cream, Dishie by WeCrochet, or Lion Brand 24/7 Cotton. These options offer excellent stitch definition and are machine washable, which is a must for a bag that will see the outdoors. To substitute, look for any smooth cotton yarn that meets the gauge requirements.
Hook
You will need a 4.5 mm (US size 7) crochet hook. This size provides a tight, sturdy gauge. If your stitches look loose or gap, move down to a 4.0 mm hook. If you find the fabric too stiff to work into, move up to a 5.0 mm hook.
Additional Supplies
- Tapestry needle for weaving in ends
- Stitch markers for assembly alignment
- Scissors
- Measuring tape
- (Optional) Leather cord or braided cotton rope for the drawstring
- (Optional) Wood beads for the ends of the drawstring
Gauge
Your swatch should measure 4 inches by 4 inches (10 cm by 10 cm). To make this, work a standard granny square for 4 rounds. It is highly recommended to check your gauge, as the fit of the base depends on the body circumference. If your gauge is too loose, the bag will stretch out of shape when used. If it is too tight, it may be difficult to sew the motifs together. If your swatch is larger than 4 inches, use a smaller hook; if smaller, use a larger one.
Abbreviations and Special Stitches
Don’t worry if you are new to this; the techniques used here are the building blocks of crochet. Here are the abbreviations you will see:
- ch = chain (UK: chain)
- sl st = slip stitch (UK: slip stitch)
- sc = single crochet (UK: double crochet)
- hdc = half double crochet (UK: half treble)
- dc = double crochet (UK: treble)
- sp(s) = space(s)
- st(s) = stitch(es)
- MR = Magic Ring
- rep = repeat
Important note for UK crocheters: Please remember that US single crochet is equivalent to a UK double crochet, and US double crochet is equivalent to a UK treble. The instructions below are written in standard US terms.
Special Stitch: Cluster
A cluster in this pattern is defined as 3 dc worked into the same space. These are the building blocks of your granny square. Ensure your tension is consistent so the squares lie flat.
Pattern Notes Before You Begin
Read through these tips before you start. They will save you headaches later.
- You will make 16 individual squares.
- Squares are worked in joined rounds.
- Always join new colors with a fresh slip knot for a seamless look.
- Starting ch-3 counts as a dc.
- Turning chains do not count as a stitch unless specified.
- Weave in your ends as you go to avoid a mountain of work at the end.
- Use stitch markers to keep your motif layout organized.
- Fasten off completely at the end of every round.
- Keep tension firm on your corners to ensure they stay square.
- Blocking the finished squares before assembly makes the joining process much easier.
Color placement is key to the “ocean” look. Try to distribute your colors so that no two identical motifs touch in the grid.
Complete Step-by-Step Crochet Pattern
Part 1: The Motif / Square
Make 16 total.
Round 1 (Color A): Start with a MR, ch 3, 2 dc into ring, ch 2, *3 dc, ch 2; rep from * 2 more times, sl st to top of beg ch 3. (12 dc, 4 ch-2 sps)
Round 2 (Color B): Join to any ch-2 sp, ch 3, 2 dc in same sp, ch 1, *3 dc, ch 2, 3 dc in next ch-2 sp, ch 1; rep from * 2 more times, 3 dc in last ch-2 sp, ch 2, sl st to join. (24 dc, 4 ch-2 sps)
Round 3 (Color C): Join to any ch-2 sp, ch 3, 2 dc, ch 2, 3 dc in same sp, ch 1, 3 dc in next ch-1 sp, ch 1, *(3 dc, ch 2, 3 dc) in corner, ch 1, 3 dc in ch-1 sp, ch 1; rep from * 2 more times, sl st to join. (36 dc, 4 ch-2 sps)
Round 4 (Color D): Join to corner, ch 3, 2 dc, ch 2, 3 dc, *ch 1, 3 dc in next two ch-1 sps, ch 1, (3 dc, ch 2, 3 dc) in corner; rep from * 2 more times, sl st to join, fasten off. (48 dc, 4 ch-2 sps)
Part 2: Assembly & Joining
Layout your 16 squares in a 4×4 grid. Using a whip stitch through the back loops only, seam the squares together. Fold the completed grid in half to form a cylinder, and seam the remaining side edge to close the body.
Part 3: The Circular Base
Round 1: MR, 12 dc into ring, sl st to join. (12 dc)
Round 2: 2 dc in each st around. (24 dc)
Round 3: *dc, 2 dc in next st; rep around. (36 dc)
Round 4: *dc in next 2 sts, 2 dc in next st; rep around. (48 dc)
Round 5: *dc in next 3 sts, 2 dc in next st; rep around. (60 dc)
Continue increasing by 12 dc per round until the diameter matches the bottom of your motif cylinder.
Part 4: Attaching Base
Pin the base to the bottom rim of the body. Using a yarn needle, sew the base to the body using a secure overcast stitch.
Part 5: Upper Yoke
Join yarn at a corner seam. Round 1: Sc in each st around the top of the bag. (64 sc)
Round 2: Ch 3 (counts as dc), *ch 1, skip 1 st, dc in next st; rep around to create eyelets.
Round 3: Sc in each dc and ch-sp around.
Part 6: Drawstring and Hardware
Chain 120, fasten off. Thread through eyelets. Attach D-rings at the side seams to clip on your straps.
Part 7: Tassels
Wrap yarn 20 times around a 4-inch piece of cardboard. Tie, cut, and attach to the drawstring ends.
Finished Size
The finished tote measures approximately 12 inches (30.5 cm) wide and 14 inches (35.5 cm) tall, excluding the straps. The circular base has a diameter of 8 inches (20 cm).
Care Instructions
Hand wash your bag in cool water with a mild detergent. Lay flat to dry on a towel to ensure it retains its shape. Do not tumble dry, as the cotton may shrink. Remove any leather or metal hardware before washing to prevent damage or rusting.
Customization Ideas
- Make it taller by adding an extra row of motifs (requires 4 more squares).
- Widen the base by adding 2 more rounds of increases.
- Use variegated yarn for a “stormy” ocean look.
- Add a fabric lining for extra security.
- Swap the drawstring for a button closure.
- Use metallic thread for the top yoke for a shimmering finish.
Troubleshooting
Cupping Base
If your base is cupping, your tension is too tight. Try going up a hook size for the base only.
Ruffling
If the edge is ruffling, you are adding too many stitches. Ensure you are sticking strictly to the 12-stitch increase per round.
Uneven Seams
Use stitch markers to pin your squares before sewing to ensure they line up perfectly.
FAQ
Is this beginner friendly?
Yes, the squares use basic stitches that are easy to master, and the assembly is straightforward.
Can I use a different yarn?
Yes, but ensure it is a sturdy cotton to maintain the bag’s structure.
How do I make it bigger?
You can add more motifs or simply increase the size of each motif by adding more rounds.
Final Thoughts
This project is a wonderful way to practice your granny square skills while creating something truly useful. I hope you enjoy the process of watching your ocean-inspired bag take shape.
I would love to see your color choices! Please share your finished bag on social media and tag me. Don’t forget to save this pattern to your Pinterest boards for your next crochet session.
Happy crafting, and may your stitches always be even.
Permission note: Finished items may be sold with credit given to the designer. Thank you for your support!
Author Box: I am a passionate crochet designer dedicated to creating patterns that blend timeless technique with modern aesthetic. My goal is to make every maker feel empowered and creative with hook in hand. Follow along for more patterns and tips.