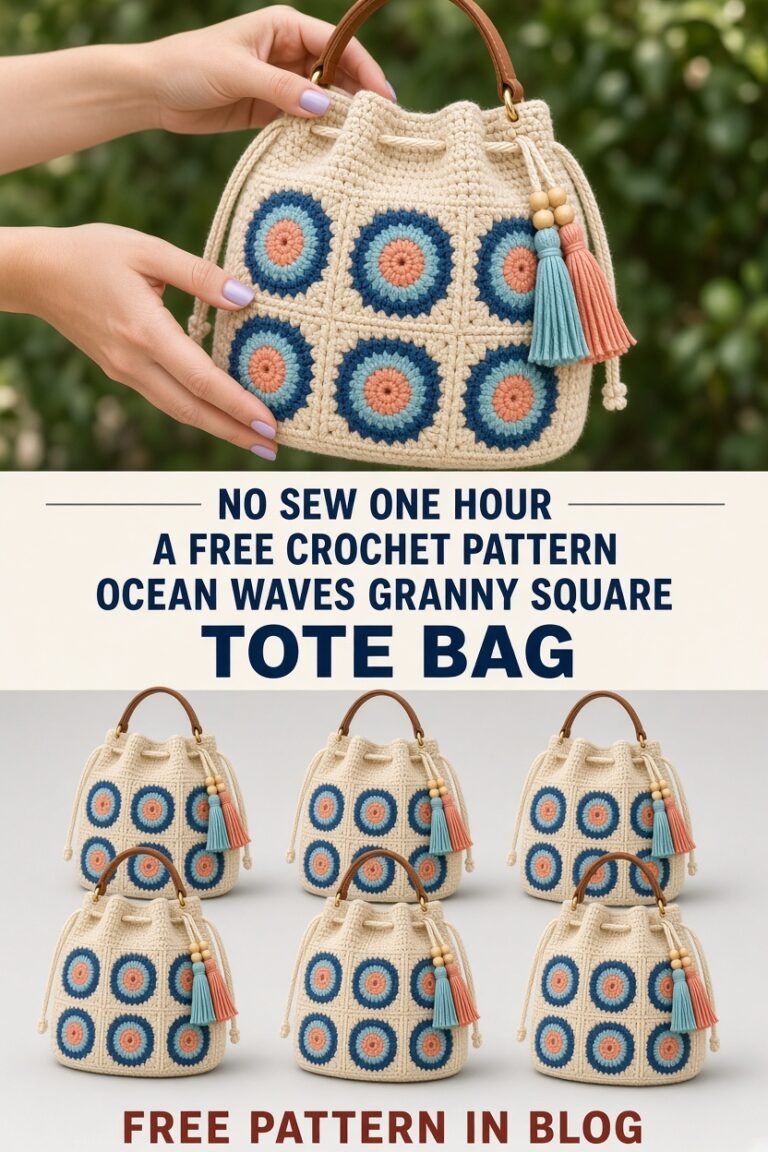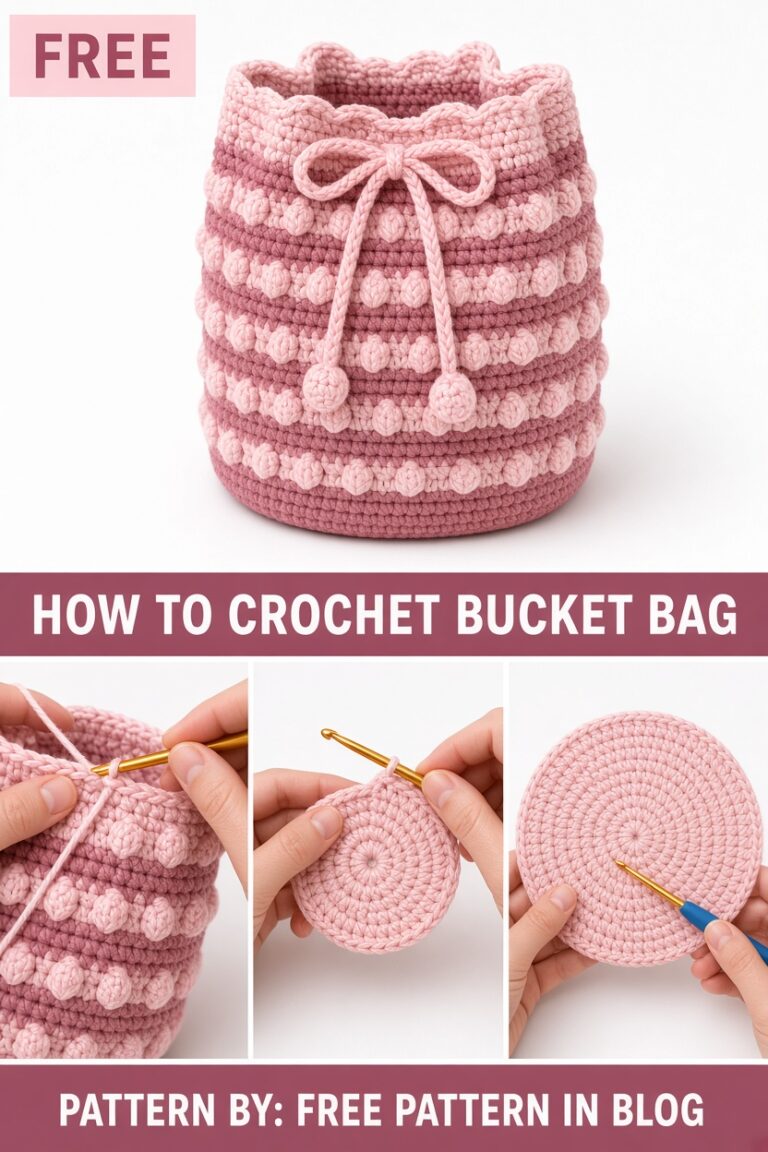
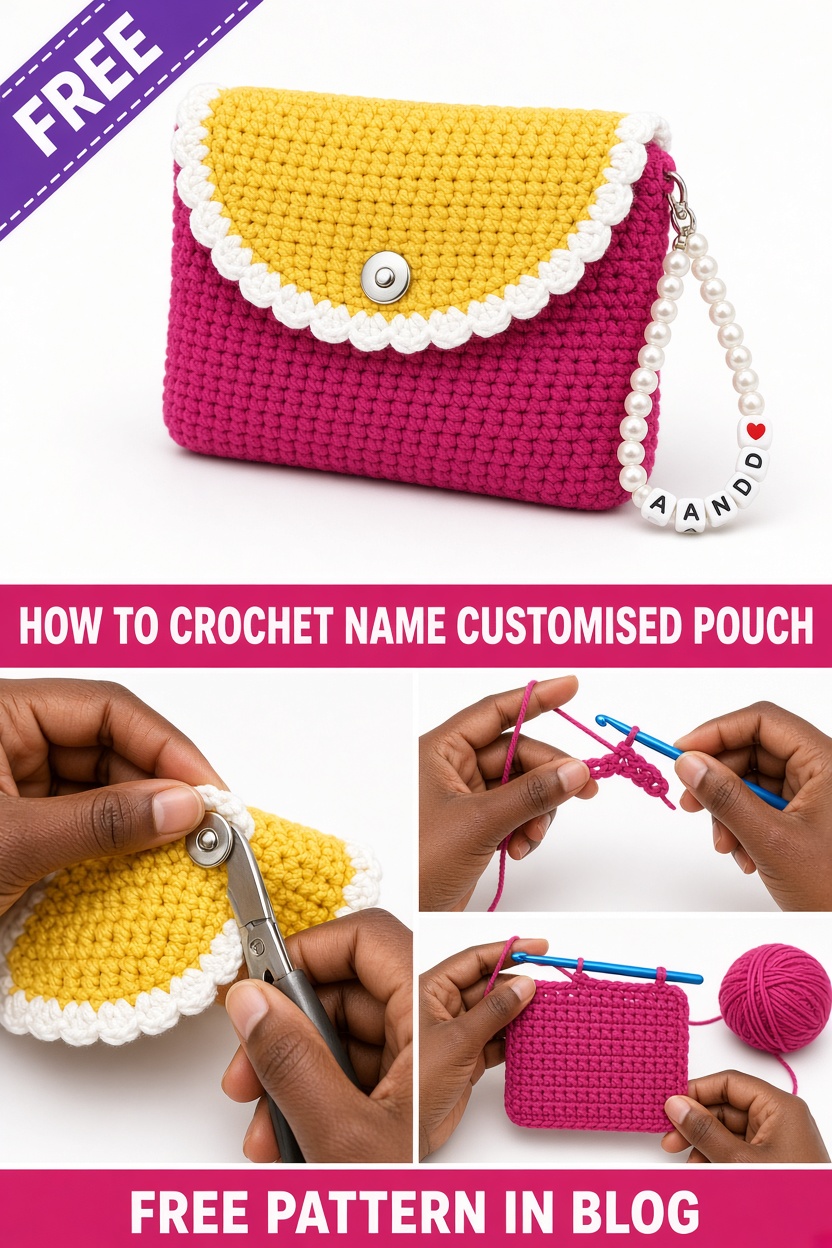
Embrace Your Creativity with a Personalized Crochet Pouch
There is something uniquely comforting about carrying an accessory that you have crafted with your own hands. I remember sitting on my porch one crisp autumn evening, struggling to find a secure way to organize my small project notions when the idea for this free crochet name customised pouch pattern with clear instructions struck me. I wanted a pouch that was not only functional but deeply personal—a vessel for my creativity that screamed ‘made by me.’ After three failed swatches and a few redesigns to get the structure just right, this project was born. It is a labor of love that I am thrilled to share with you today.
This pouch is designed for the modern crafter, the student, or the busy parent who needs a reliable place to store pens, makeup, or crochet hooks. Its cylindrical shape provides ample room, while the drawstring closure keeps your treasures safe and sound. Whether you are creating this as a gift for a loved one, complete with their initials, or making it for yourself, the process is incredibly meditative and rewarding. By following this guide, you will master the art of color work and structural assembly, gaining confidence with every stitch you make.
About This Free Crochet Name Customised Pouch Pattern
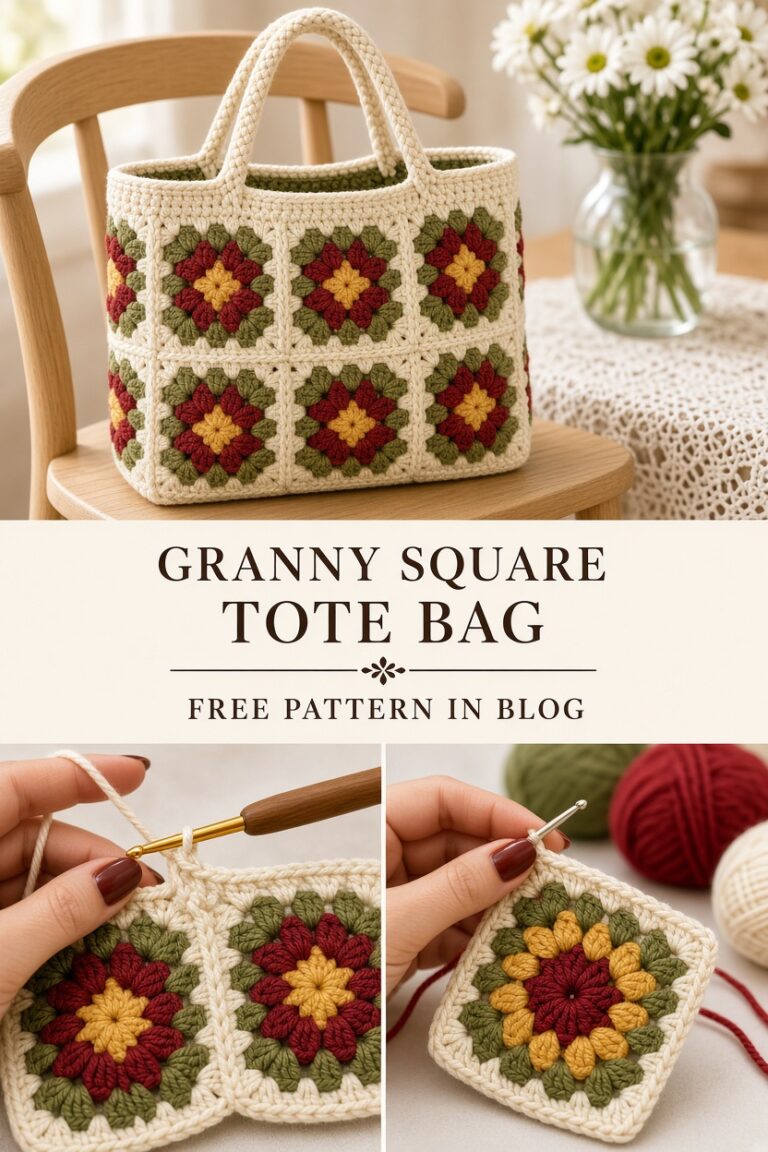
The construction of this pouch is modular, ensuring that it is approachable even if you are newer to intermediate crochet. We begin by crafting a series of square motifs that form the main body of the pouch. These squares are joined into a grid, which is then shaped into a sturdy cylinder. We then work a separate circular base, which is securely attached to the bottom of the cylinder, followed by an upper yoke that houses the drawstring eyelets. This systematic approach breaks down a complex-looking bag into manageable, bite-sized components.
Quick Facts: Finished size: 6 inches (15 cm) diameter, 8 inches (20 cm) height. Skill level: Easy Intermediate. Time to complete: 8 to 12 hours. Techniques used: Magic Ring, slip stitch joining, chain-space construction, and basic increases.
The real design twist here is the integration of name customization. You can choose to embroider a name onto one of the motifs or use a contrasting yarn color to crochet initials directly into the center of a square, adding a layer of personalization that turns a simple accessory into a cherished keepsake. You can customize the color palette, the strap style, and even the tassel length to match your unique aesthetic.
Materials and Tools You’ll Need
Yarn
For this project, I recommend a medium weight (Worsted/Aran) cotton yarn. Cotton is essential here because it provides the stitch definition needed for a crisp, structural finish and holds its shape well over time. You will need approximately 250 yards (230 meters) of the main color and 100 yards (90 meters) of a contrasting color for accents. Recommended yarns include Lily Sugar’n Cream, Knit Picks Dishie, or Lion Brand 24/7 Cotton. These options are budget-friendly, widely available, and durable.
Hook
You will need a 4.0mm (US G/6) crochet hook. If you tend to crochet tightly, you might consider moving up to a 4.5mm hook, while those with a loose tension should drop down to a 3.5mm hook to ensure the pouch fabric remains dense and secure enough to hold your items without stretching.
Additional Supplies
- Tapestry needle for weaving in ends.
- Stitch markers to keep track of motif placement.
- Optional: D-rings for side attachment points.
- Optional: A leather or crocheted strap for shoulder carry.
- Scissors.
Gauge
Gauge is vital for this project to ensure your base fits the cylinder perfectly. Your swatch should measure 4 inches by 4 inches (10 cm by 10 cm). Using your 4.0mm hook, work 16 stitches and 8 rows in double crochet. If your swatch is larger than 4 inches, try a smaller hook. If it is smaller, use a larger hook. Consistent tension is the secret to a professional-looking bag.
Abbreviations and Special Stitches
Don’t be intimidated by the terminology. Crocheting is just a series of small, rhythmic movements. Here are the abbreviations you will see:
- ch = chain (UK: chain)
- sl st = slip stitch (UK: slip stitch)
- sc = single crochet (UK: double crochet)
- hdc = half double crochet (UK: half treble crochet)
- dc = double crochet (UK: treble crochet)
- st(s) = stitch(es)
- MR = magic ring
- rep = repeat
Important note for UK crocheters: This pattern uses US terminology. Remember that your ‘double crochet’ is our ‘single crochet,’ and your ‘treble’ is our ‘double crochet.’ Please adjust accordingly!
Special Stitch: Cluster Stitch
The cluster stitch is used to add texture and depth to your motifs. To work a 3-dc cluster: Yarn over, insert hook, pull up a loop, yarn over, pull through 2 loops (2 loops remain), repeat 3 times in the same stitch, yarn over, and draw through all remaining loops on the hook. This creates a dense, bobble-like effect that provides structural integrity.
Pattern Notes Before You Begin
Read through these tips before you start. They’ll save you headaches later.
- Each motif is worked individually.
- The body is worked in joined rounds.
- Always join new colors with a fresh slip knot for a seamless look.
- Do not count the turning chain as a stitch unless specified.
- Use stitch markers at the beginning of every round to avoid losing your place.
- Weave in your ends as you go; it makes the final assembly much less tedious.
- Always tighten your initial MR firmly to prevent a hole in the center of the base.
- Consistent tension is more important than speed.
- Label each motif as you finish it to keep your grid layout organized.
- If your corners look uneven, ensure you are working into the correct stitch of the previous round.
Color Tip: Use a high-contrast color for the center of your motifs to make the pattern pop. This keeps the design visually interesting without requiring complex color changes during the row.
Complete Step-by-Step Crochet Pattern
Part 1: The Motif / Square (Make 6 Total)
Round 1 (Color A): Start with a MR, ch 3 (counts as dc), 2 dc in ring, ch 2, *3 dc in ring, ch 2; rep from * twice more, sl st to top of beg ch-3. (12 dc, 4 ch-2 sps)
Round 2 (Color B): Join yarn in any ch-2 sp, ch 3, 2 dc in same sp, ch 1, *3 dc, ch 2, 3 dc in next ch-2 sp, ch 1; rep from * twice more, 3 dc in initial sp, ch 2, sl st to join. (24 dc, 4 corner sps)
Round 3 (Color C): Join in any corner ch-2 sp, ch 3, 2 dc in same sp, *ch 1, sk next 3 sts, 3 dc in next ch-1 sp, ch 1, 3 dc in corner sp; rep from * around, sl st to join. (36 dc)
Round 4 — Squaring Round (Color MC): Join in any corner, ch 1, sc in each st around, putting 3 sc in every corner space to turn the work into a perfect square. Fasten off. (44 sts)
Part 2: Assembly & Joining the Motifs
Layout your 6 squares in a 3×2 grid. Use a whipstitch method through the back loops only to join the squares. This creates a professional, almost invisible seam. Once joined into a flat rectangle, fold the rectangle in half and join the final edges to form a cylinder.
Part 3: The Circular Base
Round 1: 12 dc into a MR. (12 dc)
Round 2: 2 dc in each st around. (24 dc)
Round 3: *1 dc in next st, 2 dc in next st; rep from * around. (36 dc)
Round 4: *1 dc in next 2 sts, 2 dc in next st; rep from * around. (48 dc)
Round 5: *1 dc in next 3 sts, 2 dc in next st; rep from * around. (60 dc)
Part 4: Attaching Base to Body
Place your circular base inside the bottom opening of your cylinder. With the wrong sides facing each other, join the pieces by working a round of sc through both layers of stitches simultaneously. This secures the base and creates a decorative raised ridge around the bottom edge.
Part 5: Upper Yoke & Eyelets
Join yarn to the top of your cylinder. Work 2 rounds of sc evenly around. Eyelet Round: Ch 3, sk 1 st, dc in next st, *ch 1, sk 1 st, dc in next st; rep from * around. This creates the holes for your drawstring.
Part 6: Drawstring, Strap & Hardware Attachment
Chain 150 stitches for the drawstring. Thread it through the eyelets. For the strap, crochet a long, sturdy band by alternating sc and hdc rows for 40 inches (100 cm). Attach to the sides of the pouch using D-rings.
Part 7: Tassels & Finishing Touches
Create two 3-inch (7 cm) tassels by wrapping yarn around a piece of cardboard 30 times. Tie at the top and bottom, trim, and secure to the ends of the drawstring.
Finished Size
The pouch measures 6 inches (15 cm) in diameter and 8 inches (20 cm) in height, providing a generous interior for your essentials.
Care Instructions
Hand wash in cold water with a gentle detergent. Do not wring the pouch; instead, lay it flat on a towel to absorb excess moisture and reshape it while damp. Avoid using bleach, as this will damage the integrity of the cotton fiber. Ensure the tassel ends are tucked in or secured before washing to prevent tangling.
Customization Ideas
- Taller Pouch: Add more rounds to your motif squares.
- Wider Base: Increase the number of rounds in the circular base before attaching.
- Color Variety: Use a different color for each motif to create a patchwork look.
- Lining: Sew a fabric lining inside to prevent small items from falling out.
- Drawstring Beads: Add wooden beads to the ends of your drawstring for extra weight and style.
Troubleshooting
Cupping Base
If your base is curling into a bowl, you need more increases. Increase by 12 stitches per round consistently to keep it flat.
Ruffling
If your base is rippling, you have too many stitches. Reduce your increase frequency by one round.
Uneven Seams
If your seams look lumpy, ensure you are matching stitch for stitch, not just spacing them by eye.
FAQ
Is this beginner-friendly?
Yes, this pattern uses basic stitches that are easily mastered with a little patience.
Can I use a different yarn?
I recommend sticking with worsted-weight cotton for the best structural results.
How do I make it bigger?
Simply increase the dimensions of your motifs or add additional rows to the top yoke.
Final Thoughts
Creating this pouch is a journey into your own creative process. I hope this pattern brings you as much joy as it brought me while designing it. Thank you for choosing my pattern, and please share your finished pouches with me on social media!
Your feedback is vital, so please leave a comment if you enjoyed this guide. Don’t forget to pin this to your Pinterest board for future reference.
Permission note: You may sell items made from this pattern, provided you credit me as the designer. Please do not share or distribute the text of this pattern itself.
About the Author: I am a passionate crochet designer with over ten years of experience teaching others to express themselves through yarn. My goal is to make every pattern accessible, fun, and deeply rewarding. Happy stitching!